
Article Courtesy Bobby Owsinski https://bobbyowsinskiblog.com/2019/07/17/reverb-timing/
“When signal processing is timed to the pulse of the track, everything in the mix sounds a lot smoother. This applies to compressors, delays, modulators, and especially reverb. One of the questions I get a lot is, “How do you time your reverb to the track?” Here’s an excerpt from the 4th edition of Bobby’s Mixing Engineer’s Handbook that explains how to do it.
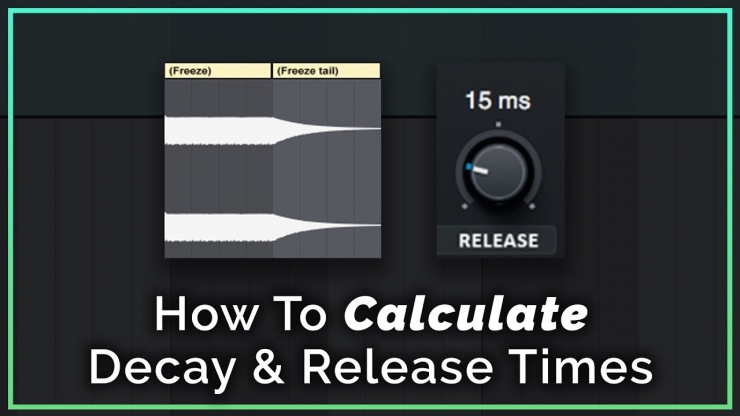
Just like delays, reverbs sound smoother if they’re timed to the pulse of the track. Doing this adds depth without sticking out and makes the mix seem more polished. The two parameters that are adjusted for timing are the decay time and the predelay.
In simple terms, the decay time is the time it takes for the reverb tail to die out. If the decay time is timed to the pulse or bpm of the song, the track seems tighter and cleaner while still retaining all of the depth.
To time the decay time to the track, trigger the reverb with the snare and adjust the decay parameter so that the decay just dies by either the next snare hit or a later one. The idea is to make the decay “breathe” with the track. You can use this decay time for the other reverbs, but you’ll probably have to adjust them slightly because the decay response of every reverb or reverb setting (such as hall, plate, chamber, room) is different due the characteristics of the reverb itself.
TIP: If the decay sounds too short after just one hit, time it so the decay dies by the end of the second or even the fourth snare hit.
Predelay means delaying the reverb entrance slightly after you hear the source signal. The reason it’s used is so the source signal doesn’t sound washed out in ambience. With a little bit of predelay, you’ll hear the source’s attack, then the reverb, so the source signal has more definition as a result.
Predelay is usually timed to the tempo of the track. Back in the days of real plates and chambers, predelay was achieved by using the slap delay from a tape machine, but today it’s a standard parameter on every reverb plugin or hardware device.
The same way that you determined the delay time for the track provides the timing for the predelay. The difference is that you usually need a smaller increment than you might’ve used for a delay, and it’s usually less than 100 milliseconds.
For instance, if you determined that a suitable 1/16-note delay time is 150ms, cut it in half (75ms), then cut it in half again (37.5ms), and maybe even in half again (19ms, rounding it off). That’s probably going to be the best timing to start with, but don’t be afraid to try the longer or shorter variations as well.
TIP: A predelay in the 20 to 40ms range is the most common. If you don’t want to time it, just start with 20ms as a good compromise.
Of these two parameters, the predelay is probably the most important in that the reverb seems more a part of the track when that parameter is timed. If you really want the reverb to stick out a bit, just randomly select a predelay time or use none at all.
You can read more from The Mixing Engineer’s Handbook and Bobby’s other books on the excerpt section of bobbyowsinski.com.
